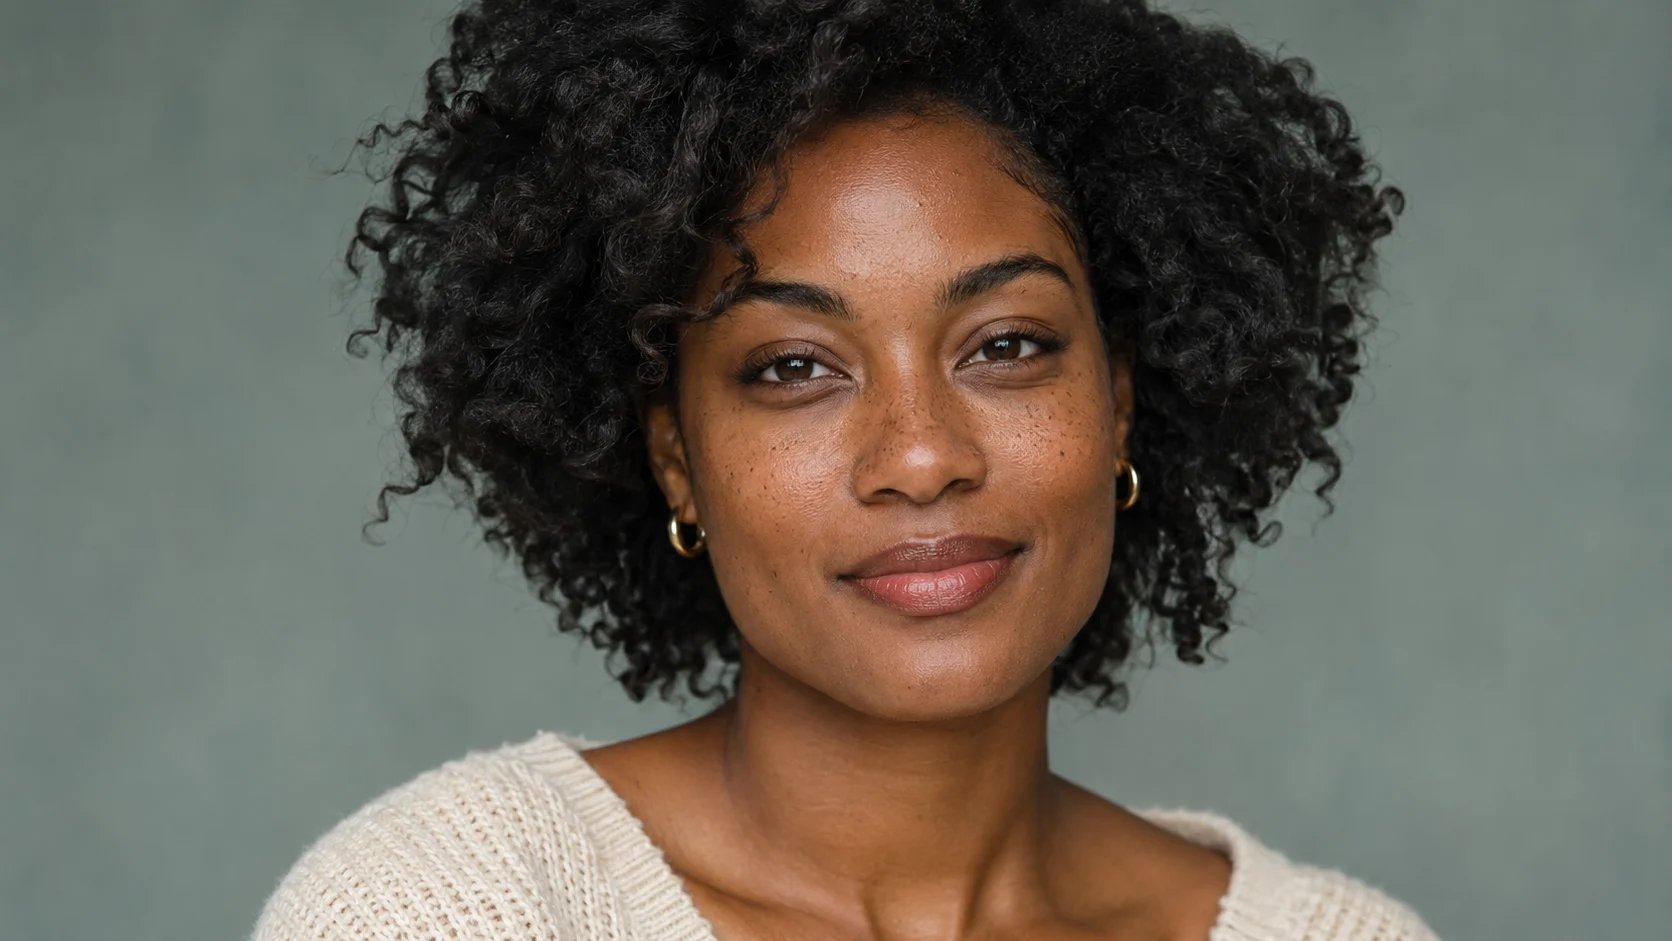
Portrait retouching involves many small judgments. A temporary blemish may need attention, while skin texture and permanent features help the photograph remain recognisable. A planned workflow lets you make those decisions deliberately and review them before delivery.
This guide is for photographers and Photoshop users who know the basic interface and want a more organised way to approach a studio portrait. Choose a practice image you have permission to edit and agree on the intended finish before beginning.
Define the purpose of the portrait
A personal headshot, a beauty photograph and an editorial portrait may call for different levels of finishing. Ask where the image will be used and what the subject expects. For this exercise, aim for a natural headshot with balanced colour and restrained cleanup.
Look at the full image and write down three priorities. They might be a temporary blemish, a distracting mark on the backdrop and an uneven colour cast. This short list helps you start with visible needs instead of inspecting every pore for something to change.
Set up an editable working file
Keep the original available and organise your edits on separate layers where the tools support it. Use adjustment layers and masks for revisable tonal or colour changes. Adobe describes these approaches as part of a non-destructive editing workflow that preserves original image information. Read Adobe’s guide to non-destructive editing.
Name groups according to their purpose, such as Cleanup, Tone and Colour. Save a layered working version early. A clear structure makes it easier to reduce an effect, compare decisions and respond to feedback later.
Address distractions with restraint
Begin with the temporary marks you identified in the brief. Work in small areas and choose nearby source texture carefully when using healing or cloning tools. Inspect the result for repeated patterns, smeared texture or abrupt changes around the edited area.
Do not assume that every mark should disappear. Freckles, scars and other permanent features can be part of the subject’s identity. Refer to the agreed brief, and leave uncertain changes for discussion rather than making them automatically.
Review tone at the scale of the whole face
After cleanup, zoom out and assess how light moves across the portrait. Look for an area that attracts attention more strongly than intended, or a shadow that distracts from the expression. Make restrained adjustments and compare them with the previous version.
Skin contains natural variation. If you make every area equally smooth and bright, the face can lose depth. Toggle the adjustment group off and on, then reduce the effect if the edit becomes more noticeable than the portrait itself.
Bring colour into balance
Review the face alongside the neck, clothing and background. A colour change can look convincing in a small area yet feel disconnected from the rest of the image. Make local adjustments only where they are needed and inspect transitions around masks.
Take a short visual break before your final colour review. Returning to the full image can help you notice a treatment that has become too warm, too cool or too strong while you were concentrating on details.
Finish eyes, hair and background details
Check stray hairs that distract from the outline, small background marks and details around the eyes. Keep the finishing consistent with the chosen natural look. Brightening the eyes too far or removing every flyaway can pull attention away from the subject’s expression.
Review both at a close view for technical errors and at the intended viewing size for overall impact. The final image should work as a portrait at the size the client will actually see.
Prepare delivery and a reusable checklist
Save the layered master, then export the requested delivery format and dimensions. Open the exported file to check the appearance and crop. Keep a short checklist covering cleanup, tone, colour, detail and export so the next portrait starts from an organised process.
Practise on three images from the same session. Aim for a consistent finish while adjusting each image according to its lighting and expression.
The Professional Portrait Retouching Course on Skillzz Up develops these skills through real studio portrait samples, with attention to skin texture, blemishes, tone, colour and detail. Use the course to build a workflow you can apply across a full shoot.
